Feedback Form
Prompt
Forms are super important! They're everywhere. The world's most popular website, Google.com, is literally just a form.
Could you create a reusable, accessible and user-friendly Feedback Form component in React that allows users to submit their feedback about a service or product? The styling should look closer to the example below. CSS variables are already provided to you for colors and backgrounds.
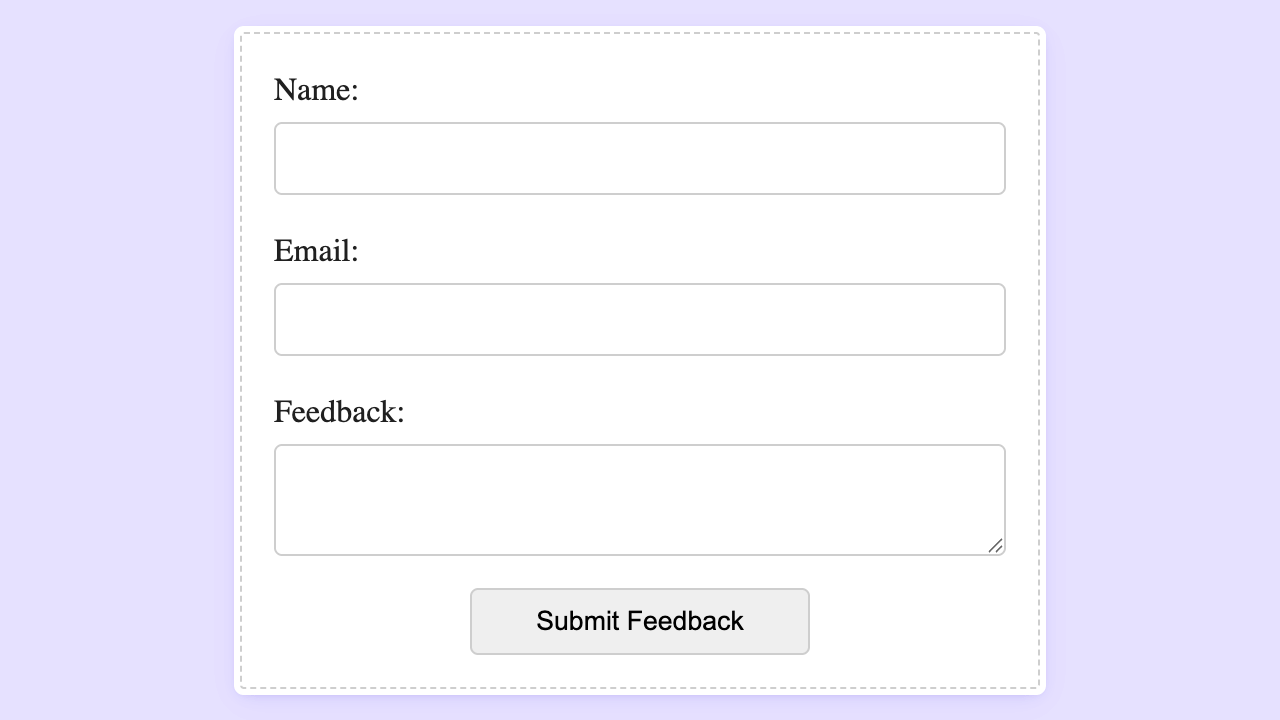
Example
Playground
To create accessible form controls, remember to associate each input with its label using the htmlFor attribute on the label and a matching id on the input.
<div className="form-group"> <label htmlFor="name">Name:</label> <input type="text" id="name" value={name} onChange={(e) => setName(e.target.value)} /></div>React's useId hook is great for generating unique IDs that won't clash if you have multiple instances of the same component. This helps with accessibility and prevents issues in server-side rendering.
const id = React.useId();const nameId = `${id}-name`;const emailId = `${id}-email`;const feedbackId = `${id}-feedback`;For a controlled form component, you need to:
- Create state for each form field
- Set the value of each input to its corresponding state
- Update the state when the input changes
const [name, setName] = React.useState('');const [email, setEmail] = React.useState('');const [feedback, setFeedback] = React.useState('');// In your JSX:<input type="text" id={nameId} value={name} onChange={(event) => setName(event.target.value)}/>;We should wrap our form controls in a <form> tag. Then, instead of listening for clicks and keys, we should listen for the form submit event. It will make it easier to handle the form data.
<form onSubmit={handleSubmit}>// Form controls</form>Solution
Explanation
Let's take a tour through our Feedback Form solution and see how it all comes together!
Component Structure
We've organized our code into two main components:
<App />: The parent component that creates a nice container for our form<FeedbackForm />: The actual form component that handles all the user input, we have separated the concerns of the form from the rest of the application.
Form Structure and Semantics
Our form uses proper HTML elements that browsers and screen readers understand well
<form className="feedback-form" onSubmit={handleSubmit}> <div className="field"> <label htmlFor={nameId}>Name:</label> <input type="text" id={nameId} value={name} onChange={(event) => { setName(event.target.value); }} required /> </div> {/* Similar pattern for email and feedback fields */}</form>Keeping Track of User Input
We're using React's useState hook to store what the user types:
const [name, setName] = React.useState('');const [email, setEmail] = React.useState('');const [feedback, setFeedback] = React.useState('');Each input field is connected to its own state variable - this is what React calls a "controlled component." It's like having a direct line to what the user is typing!
Making Our Form Accessible
One of the coolest parts of our solution is using React's useId hook:
const id = React.useId();const nameId = `${id}-name`;const emailId = `${id}-email`;const feedbackId = `${id}-feedback`;This neat little hook generates unique IDs that won't clash with other components. We use these IDs to connect our labels and inputs:
<label htmlFor={nameId}>Name:</label><input id={nameId} ... />This connection is super important for accessibility because:
- Screen readers can announce which label belongs to which input
- Clicking on a label automatically focuses its input field
- It helps users understand what information they need to provide
useId Hook
The useId hook is special in one more way: It produces the same value across server and client renders. This is a very special property, and something that would be very difficult to reproduce without a special React-provided solution.
Handling Form Submission
When a user hits that submit button, our handleSubmit function kicks in:
const handleSubmit = (event) => { event.preventDefault(); console.log({ name, email, feedback }); // Here we'd typically send data to a server alert('Feedback submitted successfully!');};By calling event.preventDefault(), we stop the browser from reloading the page. Instead, we can:
- Grab all the form data from our state
- Show a nice success message to the user
- In a real app, send the data to a server
Making It Look Good
Our CSS creates a clean, friendly form that's easy to use:
.feedback-form { max-width: 400px; margin: 0 auto; padding: 16px; border: 1px dashed hsl(250deg 100% 90%); background: white; border-radius: 2px; box-shadow: 0px 0px 0px 3px white, 0px 1px 4px hsl(250deg 100% 40% / 0.25), 0px 2px 8px hsl(250deg 100% 40% / 0.125), 0px 4px 16px hsl(250deg 100% 40% / 0.05);}You can skip adding box-shadow in the interview, I have added it for fun.
Validation Made Easy
We've included the required attribute on our inputs:
<input type="text" id={nameId} value={name} onChange={(event) => { setName(event.target.value); }} required/>And we've set the email input to type="email". This gives us free browser validation that:
- Makes sure users don't submit an empty form
- Checks that email addresses follow the right format
- Shows helpful error messages when something's not right
We've created a form that's not just functional, but also accessible, user-friendly, and maintainable. Anyone using this form will have a smooth experience, and other developers will thank you for writing such clean code!
Learn more about validation attributes like required, minLength, and pattern on MDN.
Common Pitfalls
Creating Uncontrolled Components: A common mistake is not connecting the input values to React state:
// Wrong approach<input type="text" id="name" // No value or onChange prop!/>This creates an "uncontrolled component" where React doesn't manage the input's state. While this can work, it makes it harder to validate, submit, or perform other operations with the form data.
Missing Label Associations: Another common error is not properly connecting labels with their inputs:
// Wrong approach<label>Name:</label><input type="text" />Without the htmlFor attribute on the label and a matching id on the input, screen readers can't associate them, reducing accessibility.
Interviewer Criteria
HTML/CSS
Did I use semantic HTML elements for the form?
Did I create a clean, organized layout for the form fields?
Were my CSS class names descriptive and meaningful?
Did I implement appropriate styles for focus states?
JavaScript/React
Did I properly implement controlled components with useState?
Did I correctly use the useId hook to generate unique IDs?
Did I implement proper form submission handling?
Is my state management clean and efficient?
Accessibility
Did I properly associate labels with form controls?
Did I use appropriate input types (email, text, etc.)?
Did I implement form validation attributes like 'required'?
Is the form usable with keyboard navigation?
Component Architecture
Did I create a reusable form component?
Is my component structure logical and well-organized?
Did I follow React best practices for forms?
Is the solution maintainable and scalable?
Time Checkpoints
- 10:00 AM
Interview starts
- 10:03 AM
Interviewer provides the prompt
- 10:05 AM
Candidate reads the prompt, asks clarifying questions, and begins coding
- 10:08 AM
Set up basic form structure with name, email, and feedback fields
- 10:12 AM
Implement useState for form fields
- 10:15 AM
Add useId hook for accessibility
- 10:18 AM
Connect form fields to state variables
- 10:21 AM
Implement form submission handler
- 10:24 AM
Add basic styling to the form
- 10:27 AM
Review and refine the solution
- 10:30 AM
Interview ends